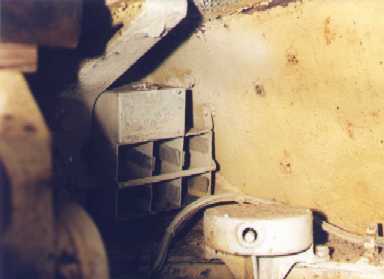
Picture 21
In the lower right area of this shot we see the top of the loader's manual turret traverse gear housing. Up and to the left of that we see the special bin made for safely storing spare vision blocks.
|
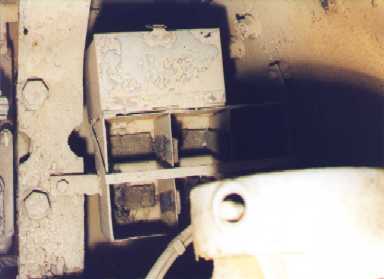
Picture 22
Here's another view of the vision block stowage bin.
|
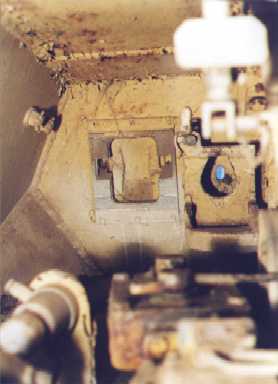
Picture 23
Now you're sitting in the gunner's seat looking straight forward. The main gun is to your right. Your forward vision port is in front of you and a bit to the left. The gun sight is missing, but if present it would be positioned to peer out of the hole to the immediate right of the vision port.
|
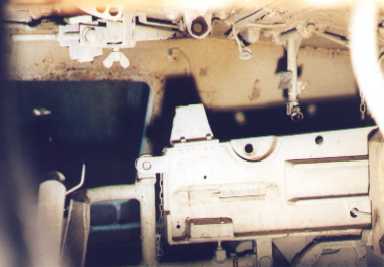
Picture 24
As you look down from the gunner's position you have before you the handwheels used to adjust elevation and to fine tune traverse.
|
Picture 25
This is the breech of the 75 mm. KwK 40 L/48 main gun. At the left side of this shot you see the gunner's hatch in the left side of the turret.
At one time there was a metal brace that could be extended down from the roof and connected to the breech. This brace, known as the "travel lock", kept the gun from bouncing around while in transit. I believe that it ran from the big eyelet on the ceiling down to the rearmost hole in the top of the breech.
|
|
Previous Page |
1 |
2 |
3 |
4 |
5 |
6 |
Next Page
|