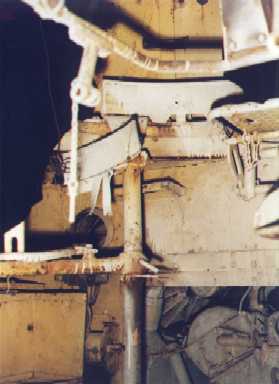
Picture 16
This photo shows the bulkhead between the fighting and engine compartments. The doors have been removed thus exposing the Maybach engine. Note how it's offset to the right side.
|
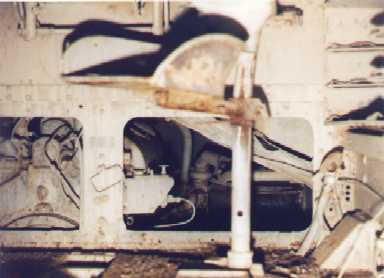
Picture 17
Here we see the rear wall of the fighting compartment from a different vantage point. The engine shows through the open door at the lower right and the right wall of the fighting compartment can be seen on the left.
|
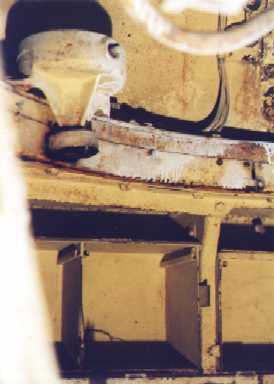
Picture 18
This shows the left wall of the fighting compartment. The racks at top hold 75 mm. ammunition horizontally. A bit of the open engine compartment can be seen at the lower left edge of the picture.
|
Picture 19
The cone-shaped object is the gear housing for the loader's manual turret traverse. A crank fits onto the end of the shaft sticking out of the top. Below the turret traverse is more space for storing 75 mm. ammo.
|
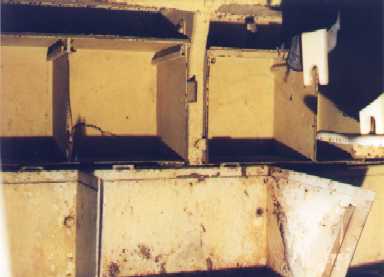
Picture 20
More ammo stowage, this time on the right wall of the fighting compartment.
|
|
Previous Page |
1 |
2 |
3 |
4 |
5 |
6 |
Next Page
|